#패스트캠퍼스_환급_챌린지 https://bit.ly/3FVdhDa #6일차
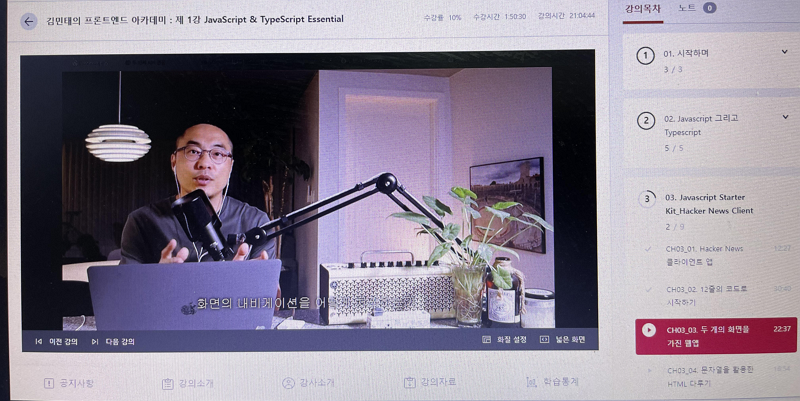
두 개의 화면을 가진 웹 앱
이전시간에 해커뉴스 api를 통해 뉴스를 가져와서 화면에 출력하는 것을 했다.
이번시간에는 이전시간에 이어서 가져온 목록에 앵커 태그를 추가하여 해당 글의 내용을 해커뉴스 api에서 가져와서 제목을 표시 하자.
1. 앵커 태글 추가하기
for (let i = 0; i < 10; i++) {
  const li = document.createElement('li');
  const a = document.createElement('a');

  a.href = `#`;
  a.innerHTML = `${ newsFeed[i].title } (${ newsFeed[i].comments_count })`;


  li.appendChild(a);
  ul.appendChild(li);
}
2. 클릭 이벤트를 통해 사용자가 어떤 글을 클릭했는지 확인해 보자.
for (let i = 0; i < 10; i++) {
  const li = document.createElement('li');
  const a = document.createElement('a');

  a.href = `#`;
  a.innerHTML = `${ newsFeed[i].title } (${ newsFeed[i].comments_count })`;

  a.addEventListener('click', function () {
    // 앵커태그를 마우스로 클릭했을 때 함수 내용을 실행
  })

  li.appendChild(a);
  ul.appendChild(li);
}
3. 앵커 하나 하나 이벤트를 등록하는 것보다 링크의 해시(#) 값의 변경을 감지하는 이벤트를 사용하는 것으로 개선하자.
window.addEventListener('hashchange', function () {
});

for (let i = 0; i < 10; i++) {
  const li = document.createElement('li');
  const a = document.createElement('a');

  a.href = `#${ newsFeed[i].id }`;
  a.innerHTML = `${ newsFeed[i].title } (${ newsFeed[i].comments_count })`;


  li.appendChild(a);
  ul.appendChild(li);
}
4. hashchange 이벤트에서 해시값을 통해 글 아이디를 추출해서 글 내용을 ajax로 가져오자.
const CONTENT_URL = 'https://api.hnpwa.com/v0/item/@id.json';

window.addEventListener('hashchange', function () {
  const id = location.hash.substr(1)

  ajax.open('GET', CONTENT_URL.replace('@id', id), false);
  ajax.send()

  const newsContent = JSON.parse(ajax.response);
});
5. 내용을 표시하기 위해 div 태그를 root에 추가하고 제목을 표시해 보자.
const content = document.createElement('div');
window.addEventListener('hashchange', function () {
  const id = location.hash.substr(1)

  ajax.open('GET', CONTENT_URL.replace('@id', id), false);
  ajax.send()

  const newsContent = JSON.parse(ajax.response);
  const title = document.createElement('h1');
  title.innerHTML = `${ newsContent.title }`
  content.appendChild(title);
});

document.getElementById('root').appendChild(content)
6. 반복 사용하고 있는 document.getElementById('root')를 선언하여 재사용 해보자.
const container = document.getElementById('root');

// document.getElementById('root').appendChild(ul);
// document.getElementById('root').appendChild(content);
container.appendChild(ul);
container.appendChild(content);
이번시간에 작성한 전체 소스이다.
const container = document.getElementById('root');
const ajax = new XMLHttpRequest();
const content = document.createElement('div');
const NEWS_URL ='https://api.hnpwa.com/v0/news/1.json';
const CONTENT_URL = 'https://api.hnpwa.com/v0/item/@id.json';

ajax.open('GET', NEWS_URL, false); //동기적으로 처리하겠다.
ajax.send();

const newsFeed = JSON.parse(ajax.response);
const ul = document.createElement('ul');

window.addEventListener('hashchange', function () {
  const id = location.hash.substr(1)

  ajax.open('GET', CONTENT_URL.replace('@id', id), false);
  ajax.send()

  const newsContent = JSON.parse(ajax.response);
  const title = document.createElement('h1');
  title.innerHTML = `${ newsContent.title }`
  content.appendChild(title);
});

for (let i = 0; i < 10; i++) {
  const li = document.createElement('li');
  const a = document.createElement('a');

  a.href = `#${ newsFeed[i].id }`;
  a.innerHTML = `${ newsFeed[i].title } (${ newsFeed[i].comments_count })`;


  li.appendChild(a);
  ul.appendChild(li);
}

container.appendChild(ul);
container.appendChild(content);
'Javascript' 카테고리의 다른 글
| Javascript & TypeScript Essential - 패스트캠퍼스 챌린지 8일차 (0) | 2021.11.08 |
|---|---|
| Javascript & TypeScript Essential - 패스트캠퍼스 챌린지 7일차 (0) | 2021.11.07 |
| Javascript & TypeScript Essential - 패스트캠퍼스 챌린지 5일차 (0) | 2021.11.05 |
| Javascript & TypeScript Essential - 패스트캠퍼스 챌린지 4일차 (0) | 2021.11.04 |
| Javascript & TypeScript Essential - 패스트캠퍼스 챌린지 3일차 (0) | 2021.11.03 |


